liftmaster 87504 manual
Welcome to the LiftMaster 87504 manual, your comprehensive guide to installing, operating, and maintaining your garage door opener. This manual ensures safe and efficient use, covering key features, installation steps, and troubleshooting tips for optimal performance.
1.1 Overview of the LiftMaster 87504 Garage Door Opener
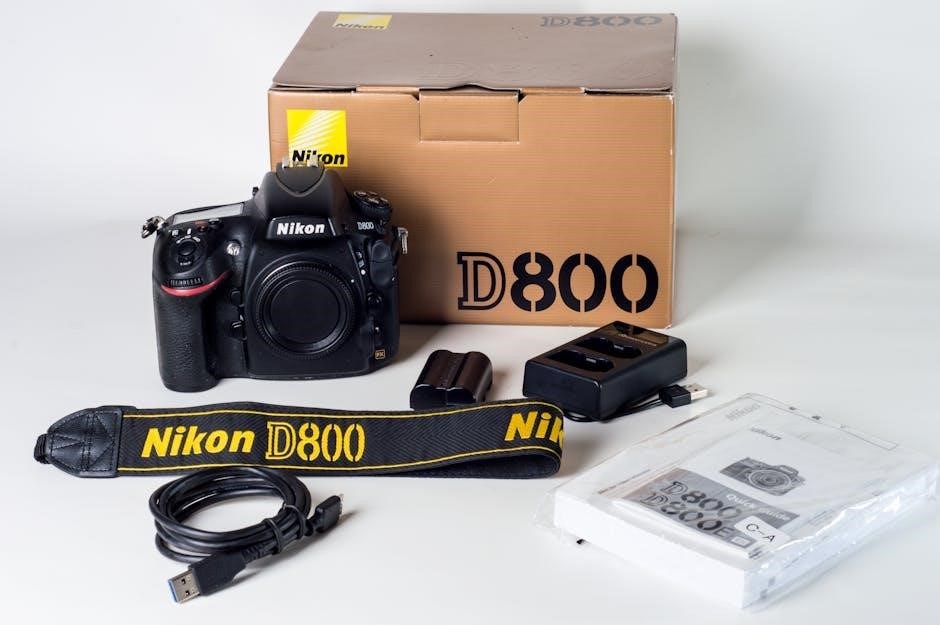
The LiftMaster 87504 is a state-of-the-art garage door opener designed for smooth, quiet operation. It features a robust belt drive system and myQ app connectivity for smart control. With a built-in camera, it enhances security and monitoring; This opener is built for reliability and ease of use, making it a top choice for homeowners. The manual is vital for understanding its features and ensuring proper installation and maintenance.
1.2 Importance of Reading the Manual
Reading the LiftMaster 87504 manual is crucial for safe and effective use of your garage door opener. It provides essential guidelines for installation, operation, and maintenance, ensuring optimal performance. The manual outlines safety precautions to prevent accidents and explains how to troubleshoot common issues. By following the instructions, you can avoid potential hazards and extend the lifespan of your opener. Proper understanding of the manual’s content is key to maximizing the features and benefits of the LiftMaster 87504, ensuring a secure and reliable garage door operation for years to come.
1.3 Key Features of the LiftMaster 87504 Model
The LiftMaster 87504 model stands out with its advanced features designed for convenience and security. It includes a belt drive system for quiet operation, perfect for homes where noise reduction is essential. The opener is also equipped with myQ app connectivity, allowing users to monitor and control their garage door remotely. Additionally, it features a built-in camera for enhanced security, providing video and two-way audio communication through the myQ app. These features make the LiftMaster 87504 a modern and reliable choice for garage door automation, ensuring both functionality and peace of mind for homeowners.

Key Features and Specifications
The LiftMaster 87504 features a belt drive system for quiet operation, myQ app connectivity for smart control, and a built-in camera for enhanced security and monitoring capabilities.
2.1 Belt Drive System for Quiet Operation
The LiftMaster 87504 employs a belt drive system, ensuring smooth and quiet operation. This system minimizes noise compared to traditional chain-drive openers, making it ideal for homes where noise reduction is essential. The belt is durable and requires minimal maintenance, providing long-lasting performance. Its smooth operation reduces vibrations, which can extend the lifespan of both the opener and the garage door. This feature is particularly beneficial for garages located near living spaces or bedrooms, ensuring uninterrupted daily activities. The belt drive system is a key factor in the opener’s reliability and quiet functioning, enhancing overall user experience.

2.2 myQ App Connectivity for Smart Control
The LiftMaster 87504 features seamless integration with the myQ app, enabling smart control and remote monitoring of your garage door. This innovative connectivity allows users to open, close, and monitor their garage door from anywhere using their smartphone. The app provides real-time notifications, ensuring you’re always informed about the status of your garage door. Additionally, the myQ app offers enhanced security features, such as remote access and customizable alerts, giving you peace of mind. Compatible with both iOS and Android devices, the myQ app is a convenient and powerful tool for modern garage door management, enhancing your overall user experience.
2.3 Built-in Camera for Enhanced Security
The LiftMaster 87504 includes a built-in camera, providing enhanced security and peace of mind. This feature allows users to monitor their garage remotely through the myQ app, offering live video feed and two-way audio communication. The camera ensures that you can see and communicate with anyone near your garage door, adding an extra layer of safety. With motion detection alerts and video recording capabilities, you can stay informed and secure. This advanced security feature is seamlessly integrated into the myQ app, making it easy to monitor and control your garage door from anywhere, ensuring your home and family remain protected at all times.

Safety Guidelines and Precautions
Ensure proper installation, operation, and maintenance for safe use. Follow guidelines to avoid hazards, such as entanglement or improper door balance. Always refer to the manual for specific safety instructions.
3.1 General Safety Tips for Installation and Use
Before installing or operating the LiftMaster 87504, read and follow all safety guidelines to ensure a secure experience. Always wear protective gear during installation and keep children away from moving parts. Ensure the garage door is properly balanced and lubricated to prevent accidents. Disable all locks and remove ropes connected to the door before installation to avoid entanglement hazards. Never install the opener on an improperly balanced door, as this can lead to malfunction. Follow the manual’s instructions carefully and avoid overclocking or overloading the system. Regularly inspect components for wear and tear to maintain safety and efficiency.
3.2 Proper Garage Door Balance and Lubrication
Proper garage door balance and lubrication are crucial for smooth operation and longevity. Ensure the door is balanced before installing the opener, as an unbalanced door can cause strain and malfunction. Lubricate hinges, rollers, and springs regularly to reduce friction and noise. Use a silicone-based lubricant for optimal results. Avoid over-lubrication, as it may attract dust and dirt. Inspect the door’s alignment and adjust as needed to prevent uneven wear. A well-maintained door ensures the LiftMaster 87504 operates efficiently and safely. Regular checks and maintenance will extend the life of both the door and the opener, ensuring reliable performance over time.
3.3 Avoiding Entanglement Hazards
To ensure safe operation, remove all ropes, locks, and obstructions from the garage door before installing the opener; Disconnect the door from manual operation to prevent accidents. Keep loose clothing and long hair tied back when near moving parts. Never allow children to play near the garage door or opener. Regularly inspect the door and opener for worn or damaged components that could pose entanglement risks. Ensure proper alignment of the door and rails to avoid misoperation. By following these precautions, you can minimize hazards and ensure a safe environment for everyone using the LiftMaster 87504 garage door opener.

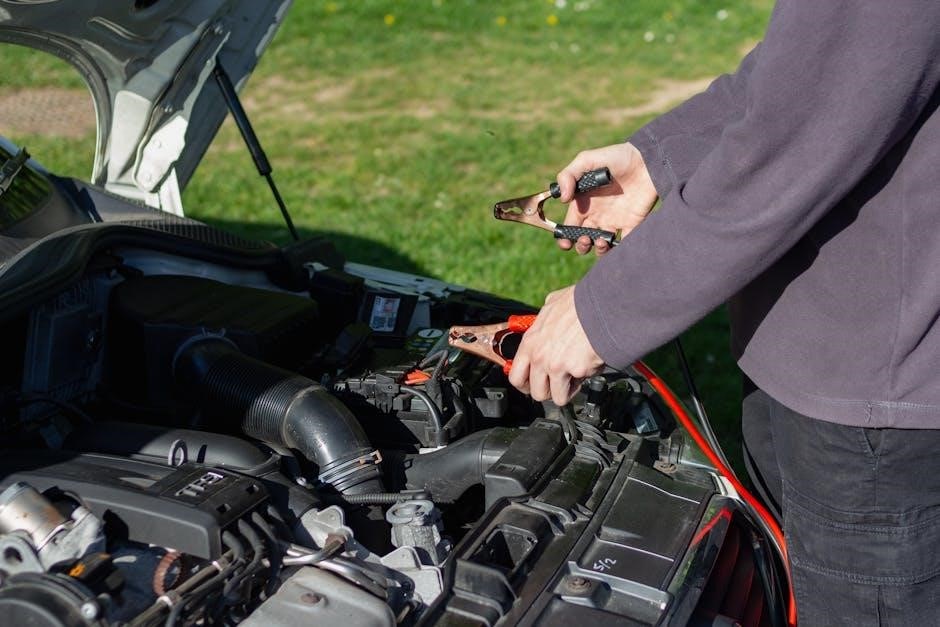
Installation Instructions
Follow the step-by-step guide to install the LiftMaster 87504, ensuring proper alignment and secure mounting. Refer to the manual for detailed instructions and safety precautions.
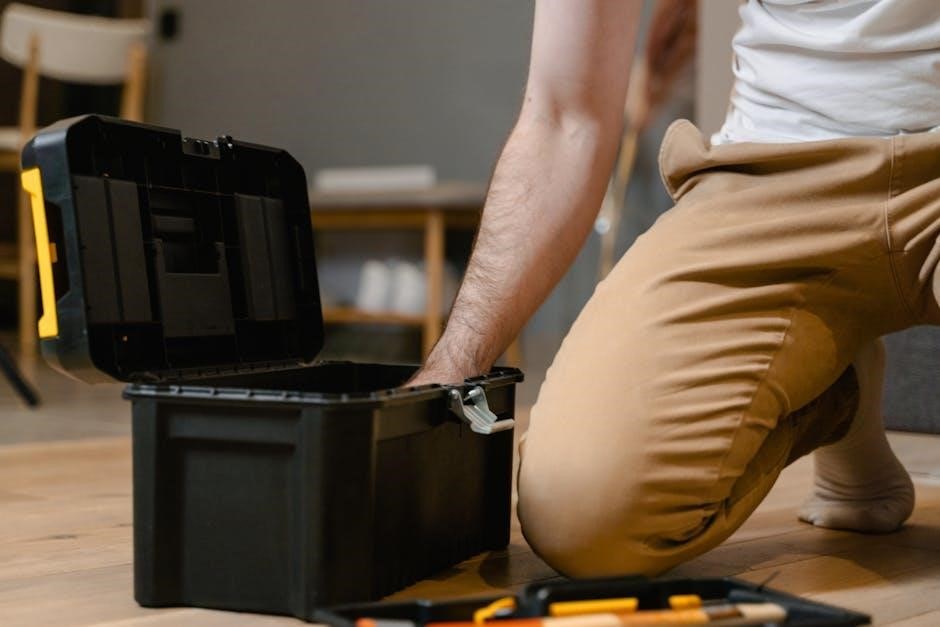
4.1 Pre-Installation Checks and Requirements
Before installing the LiftMaster 87504, ensure your garage door is properly balanced and lubricated. Remove any locks and ropes to avoid entanglement hazards. Verify all components are included and undamaged. Ensure the garage door opener is compatible with your door type and size. Check the ceiling clearance and wall space for proper mounting. Read all safety warnings and instructions carefully. Ensure power is available near the installation site. Have all tools ready, as specified in the manual. Proper preparation ensures a smooth and safe installation process.
4.2 Step-by-Step Installation Process
Begin by removing the two bolts from the top of the garage door opener. Align the rail holes with the motor head and secure them. Attach the rail to the motor assembly and ensure all connections are tight. Install the wall bracket, then connect the rail to it using lag screws. Mount the motor unit to the ceiling, ensuring proper alignment. Connect the door arm to the opener and garage door. Install safety sensors and connect all wires. Test the opener to ensure smooth operation. Refer to the user manual for detailed diagrams and specific torque settings. Use a T6 torque wrench for motor head bolts.

Maintenance and Upkeep
Regularly lubricate rollers and springs to ensure smooth operation. Inspect belts and chains for wear and tear. Replace any damaged or worn parts promptly. Clean sensors and tracks to maintain functionality. Schedule annual professional inspections for optimal performance and safety.
5.1 Routine Maintenance Tasks
Regular maintenance ensures your LiftMaster 87504 operates efficiently and safely. Start by lubricating rollers and springs every six months to reduce friction and noise. Next, inspect the belt or chain for signs of wear, such as cracks or fraying. Clean the photo-eye sensors and tracks to prevent misalignment issues. Additionally, test the door balance monthly by disconnecting the opener and manually lifting the door—it should stay in place without drifting. Finally, wipe down the opener’s exterior and check for loose screws or bolts. These routine tasks prevent breakdowns and extend the lifespan of your garage door opener.
5.2 Replacing Wearable Parts
Over time, certain parts of your LiftMaster 87504 may wear out and require replacement. Regularly inspect the belt, chain, or screw drive for signs of wear, such as fraying or excessive noise. If damaged, replace these components immediately to prevent system failure. Additionally, check the rollers and springs for rust or corrosion and replace them as needed. Always disconnect power before performing any repairs. Use genuine LiftMaster replacement parts to ensure compatibility and safety. Refer to the manual for specific instructions on replacing wearable parts, as improper installation can lead to malfunctions or safety hazards. Prompt replacements will maintain your opener’s performance and longevity.

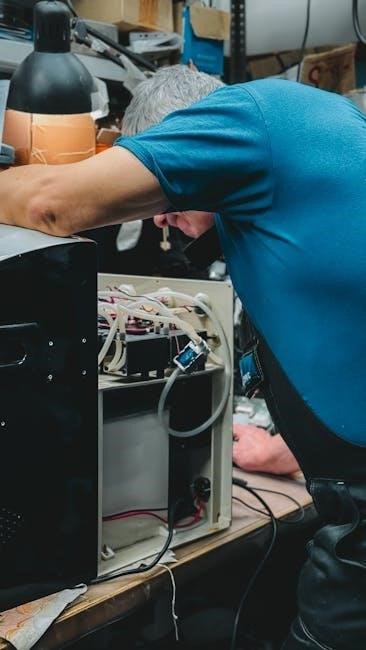
Troubleshooting Common Issues
Identify and resolve common issues with your LiftMaster 87504, such as non-response, unusual noises, or incomplete door closure. Check power supply, ensure proper door balance, and clear obstructions. Use the myQ app for remote diagnostics and refer to the manual for detailed solutions. If issues persist, consult LiftMaster support for professional assistance. Regular maintenance can prevent many problems, ensuring smooth operation and longevity of your garage door opener system.
6.1 Diagnosing Common Problems
Diagnosing common issues with your LiftMaster 87504 garage door opener starts with identifying symptoms like uneven door movement, strange noises, or non-response. Check the power supply and ensure the door is properly balanced. Use the myQ app to monitor and troubleshoot remotely. Look for obstructions in the door’s path and verify that safety sensors are clean and aligned. If the opener doesn’t respond, reset it by disconnecting and reconnecting the power. For persistent issues, consult the manual or contact LiftMaster support. Regular checks and maintenance can help prevent problems, ensuring reliable operation and extending the lifespan of your garage door opener system.
6.2 Resetting the Garage Door Opener
To reset the LiftMaster 87504 garage door opener, locate the reset button under the light bulb in the opener. Press and hold it for 10 seconds until the lights blink, indicating a successful reset. This process clears all settings, so you’ll need to reprogram remotes and the myQ app. For remotes, press the learn button on the opener and hold the remote button until the lights blink; For the myQ app, reinstall it and follow the setup instructions. Ensure the door is properly balanced and lubricated before use. Refer to the manual for detailed steps to avoid complications.

myQ App Setup and Features
- Download and install the myQ app for iOS or Android devices.
- Follow in-app instructions to pair your LiftMaster 87504 opener.
- Enjoy remote monitoring, smart control, and real-time notifications.
- Access enhanced security with built-in camera and two-way audio.
7.1 Downloading and Installing the myQ App
To get started with the myQ app, visit the App Store (for iOS) or Google Play Store (for Android) and search for “myQ.” Download and install the app following the store’s instructions. Once installed, open the app and create a myQ account or log in if you already have one. Follow the in-app prompts to pair your LiftMaster 87504 garage door opener with the app. Ensure your opener is compatible and properly connected to your Wi-Fi network. After successful pairing, you can access remote monitoring, control, and security features directly through the app.
7.2 Remote Monitoring and Control Features
The myQ app offers advanced remote monitoring and control features for your LiftMaster 87504 garage door opener. Through the app, you can open, close, or check the status of your garage door from anywhere. Real-time notifications alert you to any door activity, ensuring added security. The built-in camera allows you to view live footage and engage in two-way audio communication, enhancing your ability to monitor your garage remotely. Schedule door operations or customize alerts to fit your lifestyle. These features provide convenience, peace of mind, and seamless integration with your smart home system, making garage door management effortless and efficient.