cuisinart instructions ice cream maker
Overview of the Cuisinart Ice Cream Maker
The Cuisinart Ice Cream Maker is an automatic, easy-to-use appliance designed to create homemade ice cream, gelato, and sorbet. It features a double-insulated freezer bowl and a mixing paddle for smooth results. With various models available, it offers convenient churning and customizable recipes, perfect for both beginners and dessert enthusiasts.
1.1 Popular Models and Their Features
Popular models include the Cuisinart ICE-100, known for its durability and advanced features, and the Cuisinart Soft Serve Ice Cream Maker, perfect for homemade soft-serve. The Pure Indulgence model offers a double-insulated freezer bowl and automatic mixing paddle, while the Automatic Frozen Yogurt, Ice Cream, and Sorbet Maker provides versatility for various frozen desserts. Each model ensures ease of use and customizable results, catering to diverse dessert preferences.
1.2 Benefits of Using a Cuisinart Ice Cream Maker
Using a Cuisinart Ice Cream Maker offers several benefits, including the ability to create customizable, high-quality frozen desserts at home. It allows for precise control over ingredients, making it ideal for dietary preferences like low-sugar or vegan options. The machines are user-friendly, with automatic features that simplify the churning process, resulting in smooth and creamy textures. This makes it a versatile and convenient addition to any kitchen, perfect for both quick treats and special occasions.

Safety Precautions and Initial Setup
Ensure the freezer is set to 0°F for proper freezing. Wash all parts before use and avoid overheating the motor, which may trigger automatic shut-off.
2.1 Unpacking and Cleaning the Machine
Unpack the Cuisinart Ice Cream Maker carefully, ensuring all components are included. Before first use, clean the freezer bowl, lid, and mixing paddle with a damp cloth, then dry thoroughly. This ensures sanitation and prevents contamination, preparing the machine for efficient operation and maintaining its performance for future use.
2.2 Freezer Bowl Preparation and Storage
The freezer bowl must be completely frozen before use, requiring 6-8 hours in a freezer set to 0°F. After churning, wash the bowl with a damp cloth and dry thoroughly. Store it in the freezer to maintain readiness for future use. Proper preparation ensures optimal performance and quick access for making frozen treats whenever desired.
Understanding the Components
The Cuisinart Ice Cream Maker features a double-insulated freezer bowl, an automatic mixing paddle, and a control panel with timer and speed settings for precise operation.
3.1 Key Parts of the Cuisinart Ice Cream Maker
The Cuisinart Ice Cream Maker includes a double-insulated freezer bowl, an automatic mixing paddle, a control panel with timer and speed settings, and a lid with an ingredient spout. The freezer bowl ensures even freezing, while the mixing paddle churns ingredients smoothly; The control panel offers easy operation, and the lid allows adding mix-ins during churning. These components work together for perfect results.
3.2 Functionality of the Mixing Paddle
The mixing paddle in the Cuisinart Ice Cream Maker is designed to churn ingredients efficiently, incorporating air and breaking down ice crystals for a smooth texture. It rotates during operation, ensuring even mixing and preventing ingredient clumping. The paddle’s automatic movement simplifies the process, allowing users to achieve creamy, professional-quality ice cream without manual effort. Its design ensures consistent results every time.
Basic Ice Cream Recipe
A classic vanilla ice cream recipe involves combining 2 cups heavy cream, 1 cup whole milk, 1/2 cup sugar, and 1 tsp vanilla extract. Churn for 20 minutes.
4.1 Ingredients and Measurements
For a classic vanilla ice cream, you’ll need 2 cups heavy cream, 1 cup whole milk, 1/2 cup granulated sugar, and 1 teaspoon pure vanilla extract. These ingredients ensure a creamy texture. Measurements are crucial for the right consistency. Optional mix-ins, like chocolate chips or fruit, can be added later. Adjust quantities based on your machine’s capacity for best results.
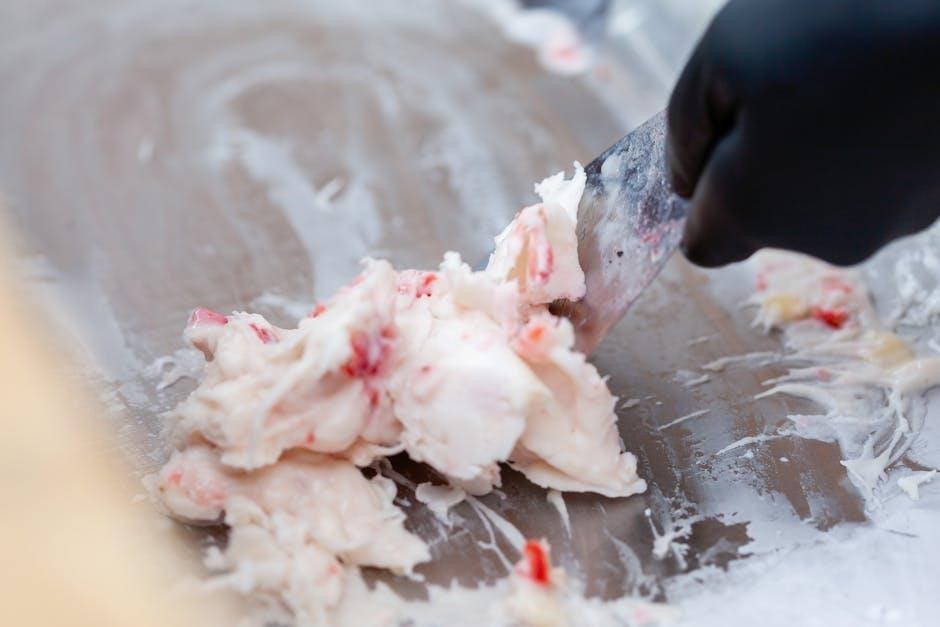
4.2 Step-by-Step Churning Process
Pour the prepared mixture into the pre-frozen Cuisinart Ice Cream Maker bowl. Turn on the machine and let it churn for 15-20 minutes. The mixing paddle will aerate and blend the ingredients. Once the mixture thickens to your desired consistency, stop the machine. Transfer the ice cream to an airtight container and freeze for a firmer texture. Churning time may vary based on the recipe and quantity.
Customizing Your Ice Cream
Customizing your ice cream allows for creative freedom. Add mix-ins like fruits, nuts, or candy for unique flavors. Experiment with different ingredients for personalized tastes and textures. This makes every batch special and tailored to your preferences.
5.1 Adding Mix-Ins and Flavorings
Customize your ice cream by adding mix-ins like chocolate chips, nuts, or fruit. Fold-ins like caramel or cookie dough enhance texture and flavor. Use extracts, cocoa powder, or zest for unique twists. The Cuisinart Ice Cream Maker’s spout allows easy addition of ingredients during churning, ensuring even distribution. This feature makes experimenting with creative combinations simple and fun for personalized treats.
5.2 Tips for Achieving the Perfect Consistency
For perfect consistency, ensure ingredients are chilled before churning. Use the Cuisinart Ice Cream Maker’s double-insulated freezer bowl, pre-frozen for optimal results. Avoid over-churning, as it can create ice crystals. Churn until the mixture reaches a smooth, creamy texture, typically within 15-20 minutes. Proper temperature control and timely mixing ensure a professional-grade finish for your homemade ice cream.

Advanced Features and Settings
The Cuisinart Ice Cream Maker features advanced settings like timers and multiple speed controls, allowing for precise churning. It also includes options for making gelato and sorbet.
6.1 Timer and Speed Controls
The timer and speed controls on the Cuisinart Ice Cream Maker allow for precise churning. Users can set the timer to ensure the perfect consistency, and adjust speeds to suit different mixtures, from delicate sorbets to dense ice creams. This feature ensures even mixing and prevents over-churning, resulting in smooth, professional-quality frozen desserts every time effortlessly.
6.2 Making Gelato and Sorbet
Making gelato and sorbet with the Cuisinart Ice Cream Maker is straightforward. Gelato requires a denser mixture, while sorbet needs a puréed base. Both are churned to the desired consistency using the machine’s timer and speed controls. The double-insulated bowl ensures rapid freezing, producing smooth gelato and icy sorbet with minimal effort, perfect for those seeking dairy-free or lighter frozen treats.
Maintenance and Troubleshooting
Regularly clean the machine with a damp cloth and avoid harsh chemicals. Ensure the freezer bowl is fully frozen before use. Troubleshoot common issues like overfilled mixtures or improper freezing by consulting the manual for solutions.
7.1 Cleaning the Machine After Use
Clean the Cuisinart Ice Cream Maker with a damp cloth, avoiding harsh chemicals. Wipe down the exterior, lid, and mixing paddle. Rinse and dry thoroughly. For tough spots, mix baking soda and water to create a paste, apply, and rinse. Ensure all parts are dry before storing to prevent water spots and maintain hygiene for future use.
7.2 Common Issues and Solutions
Common issues with the Cuisinart Ice Cream Maker include the motor overheating, which triggers an automatic shutdown. To resolve this, ensure proper ventilation and avoid overloading. Another issue is the freezer bowl not being fully frozen, leading to soft ice cream. Solution: Freeze the bowl for at least 12 hours before use; For more troubleshooting, refer to the user manual or Cuisinart customer support.
Recipe Ideas and Inspiration
Explore a variety of delicious recipes, from classic vanilla to unique flavor combinations. Easily create gelato, sorbet, and frozen yogurt with customizable mix-ins and toppings. Start churning today!
8.1 Classic and Unique Flavor Combinations
Discover a world of flavors with Cuisinart! From classic vanilla and chocolate to unique combinations like S’mores or Dark Cherry, the possibilities are endless. Experiment with mix-ins like nuts, fruit, or candy pieces for personalized treats. The machine also supports vegan and dairy-free recipes, such as coconut milk-based ice cream, ensuring everyone can enjoy their favorite flavors. Start churning creativity today!
8.2 Vegan and Dairy-Free Options
Cuisinart ice cream makers are perfect for vegan and dairy-free desserts! Use bases like coconut milk, almond milk, or cashew cream for creamy textures. Ensure your mixture doesn’t exceed 1 liter to avoid overflow. The machine’s automatic churning makes it easy to craft vegan ice cream. With countless recipe ideas available, you can enjoy guilt-free, dairy-free treats tailored to your dietary preferences and restrictions.
Storing and Serving
Store homemade ice cream in an airtight container at 0°F to maintain freshness. Scoop and serve immediately for the best texture and flavor experience.
9.1 Proper Storage of Homemade Ice Cream
For optimal freshness, store homemade ice cream in an airtight container at 0°F. Use a container with a tight-fitting lid to prevent ice crystals from forming. Place plastic wrap or wax paper directly on the ice cream’s surface for added protection. Store in the coldest part of the freezer to maintain consistency. Label and date the container for easy identification.
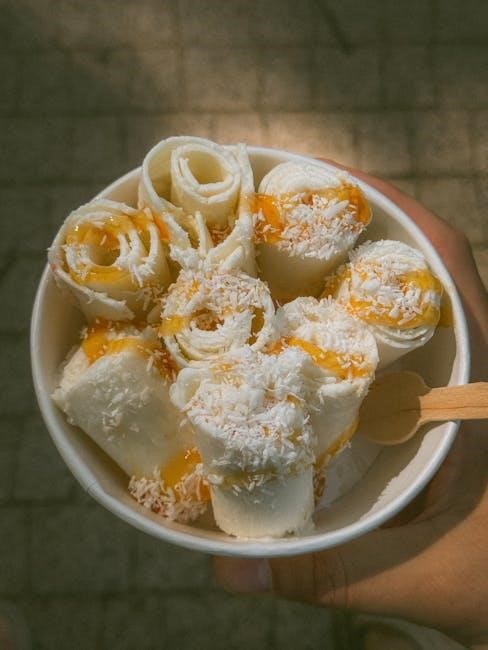
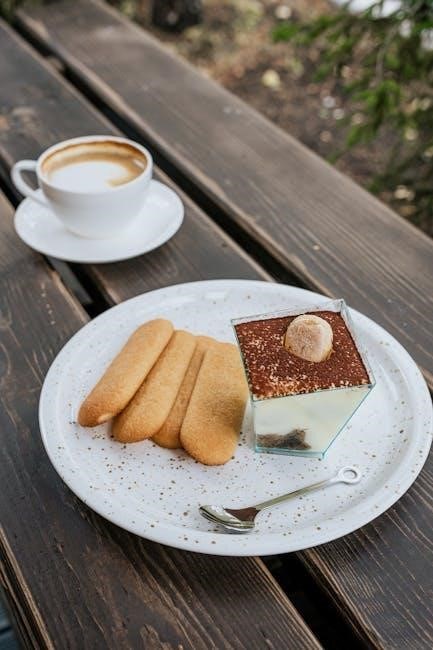
9.2 Serving Suggestions and Toppings
Enhance your homemade ice cream with creative toppings like sprinkles, chopped nuts, caramel sauce, or fresh fruit. Serve in cones, bowls, or as sundaes with whipped cream. For a decadent treat, sandwich scoops between cookies or brownies. Mix-ins like chocolate chips or crushed candy bars add texture and flavor. Experiment with milkshakes or layered parfaits for a unique dessert experience.

User Reviews and Comparisons
Users praise the Cuisinart Ice Cream Maker for its ease of use and versatility. Many consider it a top choice for homemade ice cream, comparing it favorably to other brands.
10.1 What Users Love About the Cuisinart Ice Cream Maker
Users rave about the Cuisinart Ice Cream Maker’s ease of use, quick results, and versatility. Many appreciate its automatic features and the ability to create customizable recipes. The machine’s efficiency in churning smooth, creamy ice cream in as little as 20 minutes is a major highlight. Additionally, the included recipes and ability to make gelato, sorbet, and frozen yogurt add to its appeal, making it a favorite for dessert lovers.
10.2 Comparisons with Other Brands
The Cuisinart Ice Cream Maker stands out among competitors for its ease of use and consistent results. Compared to other brands, it offers faster churning times and a more user-friendly design. While some brands may lack automatic features, Cuisinart excels with its double-insulated freezer bowl and versatile recipe options, making it a top choice for homemade ice cream enthusiasts seeking quality and convenience.
Warranty and Customer Support
Cuisinart offers a limited warranty covering defects in materials and workmanship. Customer support is available through their official website or phone for assistance with queries or repairs.
11.1 Understanding the Warranty Terms
The Cuisinart Ice Cream Maker is backed by a limited warranty covering defects in materials and workmanship. The warranty typically lasts for a specified period, such as one year, and includes repair or replacement of faulty parts. Registration may be required to activate the warranty. For full details, refer to the warranty documentation provided with your purchase or visit the Cuisinart website.
11.2 Contacting Cuisinart Customer Service
For assistance with your Cuisinart Ice Cream Maker, contact customer service via phone, email, or live chat through their official website. Representatives are available to address inquiries, provide troubleshooting support, and guide warranty claims. Ensure to have your product model number and purchase details ready for efficient service. Visit the Cuisinart website for the most up-to-date contact information and support options.
Accessories and Additional Resources
Explore Cuisinart’s range of accessories, including extra freezer bowls and recipe guides. Visit their official website for manuals, troubleshooting tips, and exclusive ice cream-making resources.
12.1 Recommended Accessories for the Ice Cream Maker
Enhance your ice cream-making experience with Cuisinart’s recommended accessories. Extra freezer bowls allow for back-to-back batches, while recipe guides and instruction booklets provide inspiration. The official Cuisinart website offers manuals, troubleshooting tips, and exclusive resources to ensure smooth operation and expand your creative possibilities with new flavors and desserts.
12.2 Where to Find Instruction Manuals and Guides
Instruction manuals and guides for the Cuisinart Ice Cream Maker are available on the official Cuisinart website. Users can download digital versions or access troubleshooting resources directly. The website also offers a comprehensive guide with recipes, safety tips, and maintenance advice tailored to specific models like the ICE-100 series, ensuring easy access to all necessary information for optimal use.
Time-Saving Tips
Quick recipes and prepping ingredients in advance simplify the process. Use pre-frozen bowls and simple steps to save time while achieving delicious results consistently.
13.1 Quick Recipes for Busy Users
For those short on time, quick recipes like 5-minute prep vanilla ice cream or dark cherry ice cream made in under 20 minutes are perfect. These recipes simplify the process without compromising flavor, allowing you to enjoy homemade treats efficiently. Busy users can also prepare mix-ins and bases ahead of time for faster churning sessions later.
13.2 Preparing Ingredients in Advance
Preparing ingredients in advance saves time and ensures smooth churning. Chop mix-ins like nuts or fruit and store them in airtight containers. Measure and pre-mix bases, such as cream and sugar, and refrigerate until ready. This step allows for faster assembly and ensures the freezer bowl is pre-chilled properly before use, leading to better results and less wait time for delicious homemade ice cream.

Health and Dietary Considerations
The Cuisinart Ice Cream Maker supports various dietary needs by allowing customization of ingredients. Users can create low-sugar, keto-friendly, or allergen-free ice cream, ensuring delicious options for all preferences and restrictions.
14.1 Low-Sugar and Keto-Friendly Recipes
Using the Cuisinart Ice Cream Maker, you can craft delicious low-sugar and keto-friendly ice creams by substituting traditional sugars with natural sweeteners like erythritol or monk fruit; Opt for dairy-free bases such as almond or coconut milk to reduce carbs and fat. These recipes cater to keto dieters, offering creamy textures without compromising on flavor. Prep ingredients like sugar-free chocolate chips or fresh berries for added taste.
14.2 Allergen-Free Ice Cream Options
Create allergen-free ice cream using the Cuisinart Ice Cream Maker by substituting dairy with coconut milk, almond milk, or oat milk. Replace nuts with seeds and avoid gluten-containing ingredients. Use natural sweeteners like monk fruit or dates for refined sugar-free options. Ensure all mix-ins, such as fresh berries or dairy-free chocolate chips, are allergen-free. Properly clean the machine to prevent cross-contamination for safe preparation.
Creative Uses for the Machine
Explore beyond ice cream with frozen yogurt, sorbet, and gelato. Experiment with unique flavors and mix-ins, like matcha, charcoal, or candy pieces, for one-of-a-kind treats.
15.1 Making Frozen Yogurt and Sorbet
The Cuisinart Ice Cream Maker also excels at crafting frozen yogurt and sorbet. For frozen yogurt, combine your favorite yogurt with sweeteners and flavors, then churn until creamy. Sorbet is made by pureeing fruit and churning it in the machine. Both options are healthier alternatives to ice cream and offer endless flavor possibilities, from tangy citrus to rich berry blends, all achievable in about 20 minutes.
15.2 Experimental Flavors and Mix-Ins
Expand your creativity with unique flavor combinations and unexpected ingredients. Try matcha green tea, beet, or charcoal ice cream for vibrant colors and distinct tastes. Mix-ins like crispy bacon, fried dough pieces, or even pickles add surprising textures. The Cuisinart Ice Cream Maker makes it easy to experiment, allowing you to craft one-of-a-kind desserts that impress. Remember to balance flavors and not overload the mixture for the best results.
The Cuisinart Ice Cream Maker simplifies homemade dessert creation, offering endless recipe possibilities. Its ease of use and versatility make it a must-have for ice cream lovers, ensuring delicious and customizable treats every time.
16.1 Final Thoughts on the Cuisinart Ice Cream Maker
The Cuisinart Ice Cream Maker is a versatile and user-friendly appliance that simplifies the process of creating homemade frozen desserts. With its automatic operation and customizable recipes, it empowers users to craft unique and delicious treats effortlessly. Whether you’re making classic ice cream, gelato, or sorbet, this machine delivers high-quality results, making it a valuable addition to any kitchen for dessert lovers of all skill levels.
16.2 Encouragement to Start Churning!
With the Cuisinart Ice Cream Maker, crafting delicious frozen treats has never been easier or more enjoyable. From classic flavors to creative mix-ins, the possibilities are endless. Don’t hesitate to experiment, customize, and share your creations with family and friends. Whether you’re a novice or a seasoned dessert lover, this machine is sure to bring joy and inspiration to your kitchen. Start churning today! 🍦✨