carrera rc mario kart instructions
Experience the thrill of Mario Kart racing with Carrera’s remote-controlled vehicles. Designed for both kids and adults, these RC karts combine high-speed fun with iconic Mario characters. Ready to race right out of the box, they offer an exciting way to bring the Mario Kart experience to life at home. With intuitive controls and durable design, Carrera RC Mario Kart is perfect for beginners and fans alike.
Overview of Carrera RC Mario Kart
The Carrera RC Mario Kart series offers a thrilling remote-controlled racing experience inspired by the beloved Mario Kart video games. These karts are designed to capture the fun and excitement of Mario Kart, featuring iconic characters like Mario, Luigi, and Princess Peach. Built with durability and high-quality materials, they are suitable for both indoor and outdoor use. The RC karts are easy to handle, making them accessible to beginners while still offering enough speed and maneuverability to appeal to experienced users. With their colorful designs and intuitive controls, Carrera RC Mario Karts are a great way to bring the Mario Kart adventure into the real world, providing hours of entertainment for fans of all ages.
Why Choose Carrera RC Mario Kart?
Carrera RC Mario Kart stands out as a top choice for enthusiasts due to its unique blend of high-quality design and entertainment value. Built with durable materials, these RC karts are designed to withstand rigorous use while delivering smooth performance. The intuitive remote control ensures easy handling, making it accessible to both kids and adults. Additionally, the karts feature iconic Mario characters, adding a layer of fun that appeals to fans of the Mario Kart video games. With their high-speed capabilities and stable maneuverability, Carrera RC Mario Karts provide an exciting racing experience that captures the essence of Mario Kart in a real-world setting, making them a must-have for fans and rc enthusiasts alike.
Target Audience: Kids and Adults Alike
Carrera RC Mario Kart is designed to appeal to a wide range of ages, making it a perfect choice for both children and adults. Kids will be captivated by the vibrant designs and their favorite Mario characters, sparking imaginative play and excitement. Meanwhile, adults can enjoy the nostalgia of Mario Kart while appreciating the high-quality engineering and smooth performance of the RC vehicles. The intuitive controls and durable construction ensure that the karts are easy for kids to handle, while the high-speed capabilities and customization options offer adults a fun and challenging experience. This versatility makes Carrera RC Mario Kart a great option for family bonding or competitive play among friends of all ages;
Features of Carrera RC Mario Kart
The Carrera RC Mario Kart boasts high-speed performance, intuitive remote control functionality, and customizable designs, making it a durable and exciting racing experience for all users.
Design and Build Quality
The Carrera RC Mario Kart is crafted with high-quality materials, ensuring durability and a premium feel. Its vibrant, colorful design captures the iconic Mario Kart aesthetic, appealing to fans of all ages. The kart’s compact size and lightweight construction make it easy to handle while maintaining stability. Built-in safety features, such as protective frames and smooth edges, ensure safe operation for kids. The attention to detail in replicating Mario characters adds to its charm, making it a standout toy for both play and display; Durable wheels and a sturdy chassis provide long-lasting performance, even with frequent use.
Remote Control Functionality
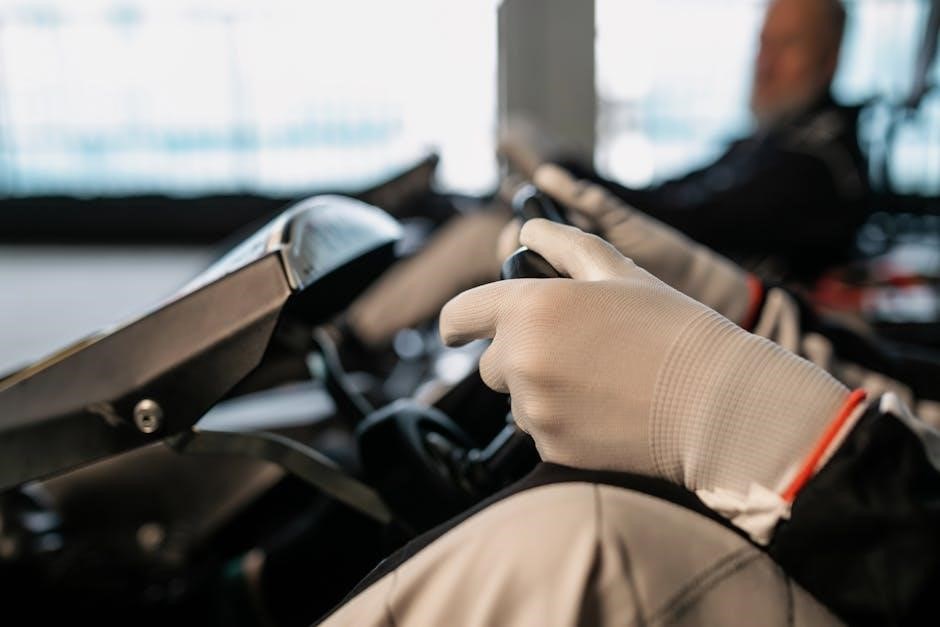
The Carrera RC Mario Kart comes with an intuitive remote control designed for precise handling and ease of use. Its responsive steering and throttle controls allow for smooth acceleration and sharp turns, making it fun for both kids and adults. The remote operates on a reliable frequency, ensuring consistent connectivity to the kart. Features like proportional steering and speed adjustment enable drivers to customize their racing experience. The ergonomic design of the controller provides a comfortable grip, reducing fatigue during extended play sessions. With clear buttons and straightforward controls, even beginners can quickly master the basics of driving their Mario Kart RC vehicle. The remote is also user-friendly, making it easy to navigate and enjoy the thrill of racing right out of the box.
High-Speed Performance
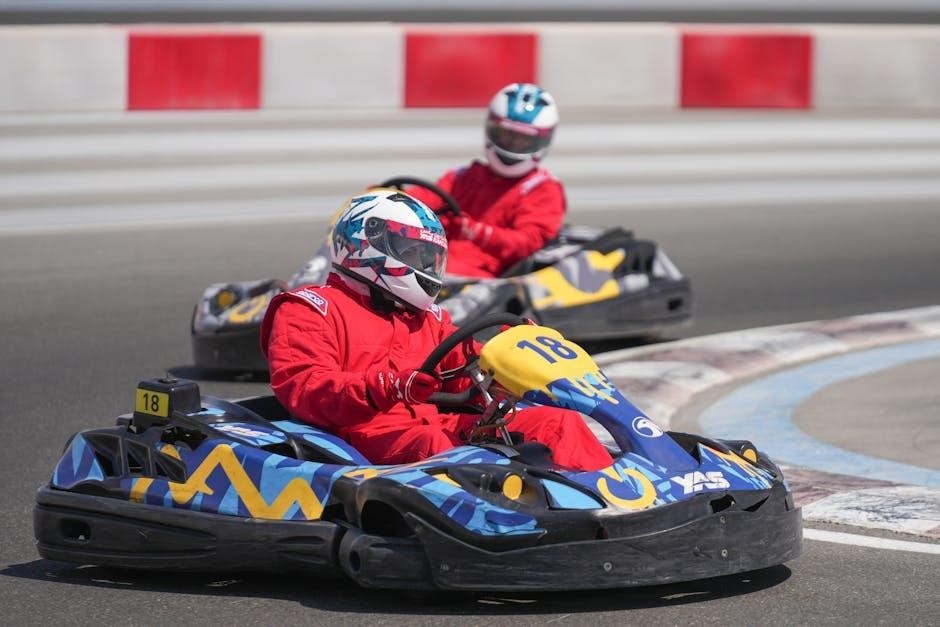
The Carrera RC Mario Kart delivers impressive speed and agility, making it a thrilling experience for racers of all ages. With its powerful motor, the kart can reach high velocities, providing an adrenaline-packed ride. The sleek design minimizes drag, allowing for faster laps and sharper turns. Whether racing on a home track or competing with friends, the kart’s speed ensures an exciting challenge. Its high-speed performance is complemented by responsive controls, enabling drivers to maintain control even at top speeds. This feature makes the Carrera RC Mario Kart a standout choice for those seeking a dynamic and fast-paced remote-controlled racing experience. The combination of speed and maneuverability ensures endless fun for both kids and adults alike.
Stability and Maneuverability
The Carrera RC Mario Kart excels in stability and maneuverability, ensuring smooth and precise control during races. Its wide base and low center of gravity prevent tipping, while the responsive remote allows sharp turns and quick adjustments. The kart’s design enhances balance at high speeds, making it easy to handle for both kids and adults. Advanced features like the 6-axis gyro system contribute to stable flight and maneuverability, especially in tight corners. Whether racing indoors or outdoors, the kart’s agility and balance provide a seamless and enjoyable experience. This combination of stability and precision makes the Carrera RC Mario Kart a versatile and fun option for racers of all skill levels.
Unboxing and Initial Setup
Unboxing reveals a complete set with batteries and accessories. Setup is straightforward—charge the kart, sync the remote, and get ready to race. Perfect for gifts!
What’s Included in the Box?
Inside the box, you’ll find everything needed to start racing: the RC Mario Kart vehicle, a remote control, rechargeable batteries, a USB charger, and a detailed instruction manual. Additional accessories like decals for customization and a storage bag are also included. The kart is pre-assembled, so no extra tools are required. The package is designed to be gift-ready, making it an ideal present for both kids and adults. The components are high-quality and durable, ensuring long-lasting fun and performance.
Charging the Vehicle and Remote
To ensure optimal performance, charge the Carrera RC Mario Kart and its remote control before first use. The vehicle comes with a USB charger, which connects to the kart’s battery compartment. Charging typically takes 2-3 hours, and the remote control uses standard batteries, usually included in the box. Always use the provided charger to avoid damage. Avoid overcharging, as it may reduce battery life. When the indicator light turns green, the kart is fully charged and ready for high-speed racing. Proper charging ensures smooth operation and extends the product’s longevity. Follow the instructions carefully to maintain the vehicle’s performance and safety.
Preparing for First Use
Before enjoying your Carrera RC Mario Kart, ensure all components are included and properly assembled. Insert batteries into the remote control, following the polarity markings to avoid damage. Sync the remote with the kart by pressing the pairing button on both devices. Choose a clear, flat surface for the first run to test controls and ensure smooth operation. Always supervise children during setup and initial use. Proper preparation ensures a safe and enjoyable experience with your Carrera RC Mario Kart.
Operating the Carrera RC Mario Kart
Master the Carrera RC Mario Kart with its intuitive remote control, offering precise maneuverability and high-speed thrills; Perfect for both beginners and experienced racers alike.
Understanding the Controls
Mastering the controls of the Carrera RC Mario Kart is straightforward. The remote features intuitive buttons for steering, acceleration, and brakes. Left and right joysticks control direction and speed, while additional buttons may enable special features like turbo boosts. LED indicators show battery life and signal strength. Beginners can start with slower speeds and gradually increase as they gain confidence. Advanced users can experiment with drifts and sharp turns for added excitement. Ensure the remote is fully charged and synced to the kart before use. Troubleshooting tips, like resetting the controller or checking signal strength, are available in the manual for seamless operation.
Basic Driving Techniques
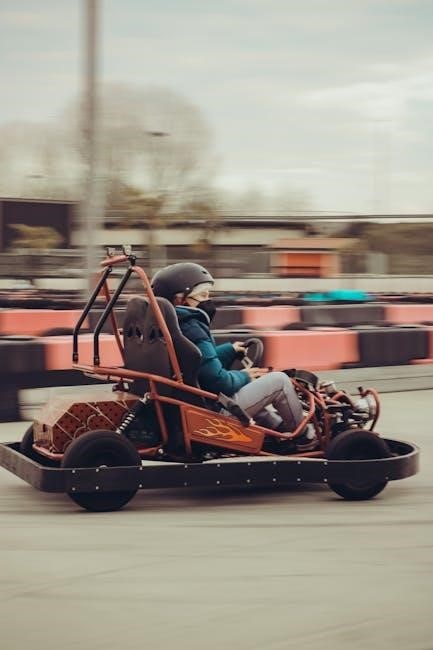
Starting with basic driving techniques ensures a smooth experience with your Carrera RC Mario Kart. Begin by familiarizing yourself with the remote’s layout and sensitivity. Start on a flat, open surface to practice acceleration and braking. Use gentle turns to maintain control, gradually increasing your speed as you gain confidence. Practice stopping at moderate speeds to avoid skidding. Sharp turns can be mastered by reducing speed before turning and using the kart’s natural drift. For younger users, consider enabling beginner mode to limit top speed. Regular practice will improve handling and help you navigate tighter corners with ease. Always keep the kart on a stable surface during initial practice sessions.
Advanced Maneuvers and Tricks
Take your Carrera RC Mario Kart experience to the next level with advanced maneuvers. Drifting can be achieved by making aggressive turns while maintaining full throttle, then countersteering to maintain control. For sharp turns, reduce speed slightly before turning and use the kart’s natural drift to glide through corners. Jumps and ramps add excitement; approach them at high speed and adjust your angle mid-air for precise landings. Experiment with quick direction changes to perform spins or 180-degree turns. Practice these techniques on open tracks to master them. Upgrading tires or adjusting suspension can enhance stability during high-speed tricks. Advanced users can also try customizing their karts for better performance in specific maneuvers.
Customization and Upgrades
Customize your Carrera RC Mario Kart to stand out! Add personalized decals, paint jobs, or upgrade performance parts like tires and motors for enhanced speed and handling. Personalize your kart with unique designs or character-themed decals. Upgrade to high-grip tires for better stability or install a faster motor for ultimate racing performance. These upgrades not only improve functionality but also give your kart a one-of-a-kind look. Explore a variety of aftermarket accessories to make your Carrera RC Mario Kart truly unique and tailored to your racing style.
Available Customization Options
Take your Carrera RC Mario Kart to the next level with a variety of customization options. Decals and stickers allow you to personalize your kart with unique designs or character-themed artwork. You can also upgrade the vehicle’s appearance with custom paint jobs or interchangeable shells featuring different Mario characters. Additionally, performance-enhancing parts like high-grip tires or adjustable suspension systems are available for improved handling. Fans can even add LED lights or custom rims for a more distinctive look. These customization options ensure your RC Mario Kart stands out and reflects your personal style while maintaining its high-speed performance capabilities.
Upgrading Performance Parts
Enhance your Carrera RC Mario Kart’s performance with a range of upgrade options. Brushless motors can significantly boost speed and torque, while high-torque servos improve steering responsiveness. Upgrading to metal gear differentials ensures smoother power delivery and better stability at high speeds. Additionally, adjustable suspension systems allow fine-tuning for various racing conditions. Lightweight aluminum chassis and aerodynamic body shells can reduce weight and enhance aerodynamics. For even more customization, performance tires with improved grip are available for different surfaces. These upgrades not only enhance performance but also extend the lifespan of your RC Mario Kart, making it more competitive and durable for intense racing sessions.
Adding Personalized Decals and Designs
Personalize your Carrera RC Mario Kart with custom decals and designs to make it truly unique. High-quality decals can be applied to the body shell, wheels, or even the remote control for a personalized touch. Vinyl wraps are another great option, offering a wide range of colors and patterns. For a more professional look, use a heat gun to ensure decals adhere smoothly to curved surfaces. Additionally, clear coats can protect your designs from wear and tear. Whether you’re recreating iconic Mario Kart liveries or designing something entirely new, these customizations allow you to express your creativity and stand out during races. This feature is especially popular among fans who enjoy blending artistry with high-speed fun.
Troubleshooting Common Issues
Identify and resolve issues like connectivity problems, steering malfunctions, or battery failures. Check connections, restart the system, and ensure proper charging for quick fixes. Most issues can be easily resolved with simple troubleshooting steps, ensuring uninterrupted racing fun.
Controller Connectivity Problems
Encounter issues with your Carrera RC Mario Kart controller? First, ensure the remote and vehicle are on the same frequency. Check the batteries and replace them if weak. Interference from other devices can cause signal loss; try moving to an open area. If the problem persists, reset both the controller and the kart by turning them off and on again. For persistent issues, consult the user manual or contact customer support for further assistance. Regularly updating firmware can also prevent connectivity problems. Always store the controller properly to avoid damage and ensure reliable performance during races.
Steering Malfunction Solutions
Is your Carrera RC Mario Kart experiencing steering issues? Check the wheels and suspension for proper alignment and ensure they are free from debris. If the kart veers to one side, calibrate the steering system by following the instructions in the manual. Tighten any loose connections between the steering components and the chassis. For persistent problems, inspect the servo motor for damage or wear; replacing it may be necessary. Regular maintenance, such as cleaning and lubricating moving parts, can prevent malfunctions. If the issue remains unresolved, contact Carrera customer support for professional assistance or replacement parts. Proper care ensures smooth and precise steering for an optimal racing experience.
Battery and Charging Issues
Encountering battery or charging problems with your Carrera RC Mario Kart? First, ensure the battery is fully charged using the original charger and cable. If the kart doesn’t power on, check for loose connections or corrosion on the battery terminals and clean them gently. Avoid overcharging, as this can reduce battery life. If the issue persists, try resetting the kart by turning it off, waiting a few minutes, and then turning it back on. For chronic issues, the battery may need replacement. Always use Carrera-approved replacement parts to maintain performance and safety. Regularly inspect the charging port for damage or debris, as this can prevent proper charging. Proper care and maintenance will extend the life of your RC kart’s battery and ensure reliable operation.
Maintenance and Care
Regularly clean your Carrera RC Mario Kart to remove dirt and debris. Store it in a dry, cool place to prevent damage. Check tires and joints for wear and ensure all parts are securely tightened. Avoid exposure to extreme temperatures or moisture. Use only Carrera-approved replacement parts and follow the manufacturer’s guidelines for maintenance. This will ensure optimal performance, longevity, and safety of your RC kart.
Cleaning the Vehicle
Regular cleaning is essential to maintain the performance and appearance of your Carrera RC Mario Kart. Use a soft, dry cloth to wipe down the chassis, tires, and body. For stubborn dirt, dampen the cloth with water or a mild detergent, but avoid soaking the vehicle. Never use harsh chemicals or abrasive materials, as they may damage the paint or components. Pay special attention to the wheels and axles, where debris often accumulates. Avoid cleaning the vehicle while it is charging or in use. After cleaning, ensure all parts are dry before storing or operating the kart. This routine will help prevent dust buildup and keep your RC kart in prime condition for racing.
Storing the RC Kart Properly
To maintain the longevity of your Carrera RC Mario Kart, proper storage is crucial. Store the vehicle in a cool, dry place away from direct sunlight and extreme temperatures. Avoid exposing it to moisture or humidity, as this can damage electrical components. Use the original packaging or a protective case to prevent scratches and dust accumulation. When storing for extended periods, ensure the battery is fully charged or removed to prevent degradation. Keep the kart upright to avoid pressure on any components. Before storing, clean the vehicle thoroughly to remove dirt or debris. Additionally, check for firmware updates for the remote control and vehicle to ensure optimal performance when you resume use. By following these steps, you can preserve your RC kart’s condition and enjoy it for years to come.
Regular Maintenance Checks
Regular maintenance is essential to keep your Carrera RC Mario Kart performing optimally. Start by inspecting the tires for wear and ensuring they are clean and free of debris. Check the wheels for proper alignment and tighten any loose screws. Next, examine the chassis for any damage or dust buildup, which can be cleaned with a soft cloth. Additionally, ensure all electrical connections are secure and free from corrosion. The remote control should also be checked for smooth joystick movement and proper button functionality. Finally, verify that the battery contacts are clean and that the battery is charging correctly. By performing these routine checks, you can prevent potential issues and extend the lifespan of your RC kart. This proactive approach ensures consistent performance and longevity. Always refer to the user manual for specific maintenance recommendations tailored to your model. Regular maintenance not only preserves functionality but also enhances your overall racing experience. It’s a simple yet effective way to keep your Carrera RC Mario Kart in top condition.
FAQs About Carrera RC Mario Kart
Frequently Asked Questions about Carrera RC Mario Kart address common inquiries, such as compatibility, usage, and troubleshooting, ensuring a smooth user experience for all customers.
Is the Carrera RC Mario Kart Suitable for Beginners?
The Carrera RC Mario Kart is an excellent choice for beginners due to its intuitive design and user-friendly controls. The remote control is straightforward to use, making it easy for new users to grasp basic driving techniques without prior experience. Its stable maneuverability ensures smooth handling, reducing the learning curve for first-time racers. Additionally, the durable build quality can withstand minor crashes, making it a great option for those still mastering their driving skills. Whether it’s a child or an adult, the Carrera RC Mario Kart provides an enjoyable and stress-free introduction to remote-controlled racing, ensuring hours of fun and excitement right out of the box.
Can I Use the RC Kart Outdoors?
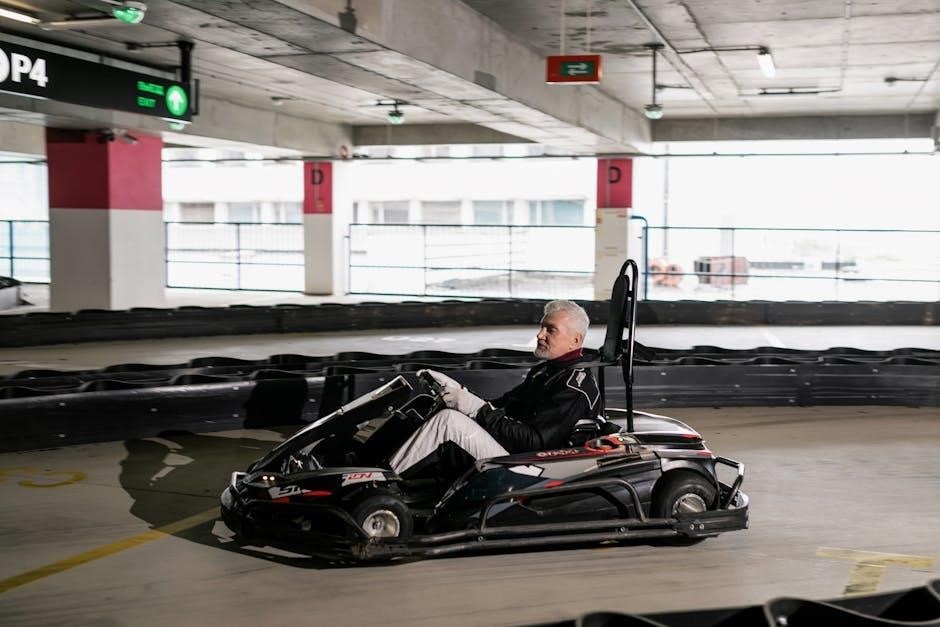
The Carrera RC Mario Kart is primarily designed for indoor use, but it can also be used outdoors under certain conditions. Its durable build and stable design make it suitable for smooth, flat surfaces like sidewalks or paved driveways. However, rough terrains, grass, or uneven ground may hinder its performance and potentially damage the vehicle. Additionally, exposure to moisture or extreme weather conditions could harm the electronic components. For optimal outdoor use, ensure the surface is flat and free from debris, and avoid wet or dusty environments to maintain the kart’s functionality and longevity. Always follow the manufacturer’s guidelines for outdoor operation to ensure safe and enjoyable racing experiences.
What is the Average Battery Life?
The average battery life of the Carrera RC Mario Kart varies depending on usage and settings. On a full charge, it typically lasts between 15 to 30 minutes of continuous use. Factors such as high-speed driving, frequent acceleration, and use of additional features can drain the battery faster. To maximize performance, it’s recommended to charge the battery for the specified time indicated in the manual. Proper charging and storage habits will help maintain the battery’s health and ensure consistent runtime. Always refer to the user manual for detailed charging instructions and tips to extend battery life.
Carrera RC Mario Kart offers an exciting blend of performance and ease, making it a delightful experience for fans of all ages. A must-try for both beginners and enthusiasts!
Final Thoughts on Carrera RC Mario Kart
The Carrera RC Mario Kart is a delightful blend of nostalgia and modern technology, offering hours of fun for both kids and adults. Its colorful, durable design and high-speed performance make it a standout choice for casual play or competitive racing. The intuitive controls ensure ease of use, while the iconic Mario Kart theme adds a layer of excitement. Whether you’re a seasoned enthusiast or a newcomer to RC vehicles, this kart delivers a thrilling experience. With its ready-to-race setup and robust build quality, it’s an excellent gift for fans of all ages. A perfect mix of fun, performance, and user-friendliness, the Carrera RC Mario Kart is a must-have for anyone looking to bring Mario Kart action into their home.
Recommendation for Potential Buyers
If you’re looking for a fun and engaging remote-controlled racing experience, the Carrera RC Mario Kart is an excellent choice. Its combination of iconic Mario Kart themes, high-speed performance, and durable design makes it perfect for both kids and adults. The intuitive controls ensure that even beginners can enjoy racing right out of the box. For fans of Mario Kart, this RC kart brings the excitement of the video game to real life. It’s also a great gift option, as it appeals to a wide range of ages and skill levels. Whether you’re a casual user or a dedicated collector, the Carrera RC Mario Kart offers endless hours of entertainment and value for money.