pregnancy workout plan pdf free
A comprehensive and expert-approved guide‚ this free PDF offers safe‚ trimester-specific exercises to support expectant mothers in maintaining strength and well-being throughout their pregnancy journey.
1.1 Overview of Free Resources Available Online
Various free pregnancy workout plan PDFs are available online‚ offering structured exercises tailored to each trimester. These guides include strength training‚ flexibility routines‚ and cardiovascular exercises‚ ensuring safety and effectiveness. Resources like the “Pregnancy Exercise Program Booklet” and “Dumbbell Workouts for Pregnancy” provide comprehensive plans for home or gym use. Many PDFs are designed by fitness experts‚ focusing on low-impact exercises and modifications for comfort. They cater to different preferences‚ helping expectant mothers stay active and healthy throughout their pregnancy journey.
1.2 Importance of Structured Prenatal Workout Plans
Structured prenatal workout plans are essential for maintaining strength‚ supporting physical changes‚ and promoting overall well-being during pregnancy. They help expectant mothers adapt to their evolving bodies‚ reduce discomfort‚ and prepare for childbirth. These plans also enhance mental health by reducing stress and anxiety. By following expert-designed exercises‚ women can safely stay active‚ fostering a healthier pregnancy and postpartum recovery. Consistency in structured routines ensures physical and emotional readiness for motherhood.
1.3 Benefits of Downloadable PDF Guides for Expectant Mothers
Downloadable PDF guides offer expectant mothers convenient access to structured prenatal workouts. They provide comprehensive‚ trimester-specific plans that can be followed at home or in the gym. These guides are tailored to individual needs‚ ensuring safety and effectiveness. With expert tips and easy-to-follow instructions‚ they empower mothers to stay active and healthy throughout their pregnancy journey. The portability of PDFs makes them a valuable resource for maintaining fitness and well-being during this special time.
Safety Guidelines for Prenatal Workouts
Ensure a safe prenatal workout journey with medical clearance‚ avoiding high-risk activities‚ and focusing on exercises suitable for each trimester while staying active.
2.1 Understanding Safe Exercises During Pregnancy
Safe prenatal exercises focus on low-impact activities like walking‚ swimming‚ and modified strength training. Avoid high-risk movements‚ such as crunches or heavy lifting‚ to prevent complications. Medical clearance is essential before starting any routine. Exercises should support core stability‚ improve posture‚ and enhance flexibility without overexertion. Modifications are crucial as pregnancy progresses to accommodate physical changes and ensure both mother and baby’s well-being. Always prioritize exercises approved by healthcare providers to maintain safety and effectiveness throughout the journey.
2.2 Avoiding High-Risk Activities and Positions
High-risk activities during pregnancy include contact sports‚ heavy lifting‚ and exercises that involve lying flat on the back after the first trimester. Avoid deep twists‚ hot yoga‚ and any movement that causes discomfort or dizziness. Positions that compress the vena cava or put pressure on the abdomen should be avoided to prevent complications. Always opt for low-impact‚ modified exercises that prioritize comfort and safety‚ ensuring the well-being of both mother and baby throughout the pregnancy journey.
2.3 Importance of Medical Clearance Before Starting
Consulting a healthcare provider before beginning any prenatal workout is crucial for ensuring safety. Medical clearance helps identify potential risks and provides personalized recommendations. This step is especially vital for women with high-risk pregnancies or pre-existing conditions. A doctor’s approval ensures that the exercise plan aligns with individual health needs‚ promoting a safe and healthy pregnancy journey. Always prioritize professional guidance to avoid complications and make informed decisions about physical activity during pregnancy.

Trimester-Specific Workout Plans
This guide offers structured workout plans tailored to each trimester‚ ensuring safety and effectiveness. Exercises adapt to physical changes‚ supporting strength and well-being throughout pregnancy.
3.1 First Trimester: Building a Foundation
The first trimester focuses on establishing a routine that supports overall health. Gentle exercises like brisk walking‚ prenatal yoga‚ and light strength training are recommended. These activities help maintain muscle tone and cardiovascular health without overexertion. It’s crucial to listen to your body and avoid high-impact movements. Modifications are provided to ensure comfort and safety‚ laying a strong foundation for the pregnancy journey ahead.
3.2 Second Trimester: Maintaining Strength
The second trimester focuses on maintaining strength while adapting to physical changes. Exercises like squats‚ lunges‚ and pelvic tilts are recommended to support core and pelvic floor muscles. Gentle resistance training with light weights or bands is also encouraged. Modifications are provided to accommodate growing bellies and ensure comfort. Prenatal yoga and stretching routines help improve flexibility and balance. A structured plan ensures safety and effectiveness‚ promoting overall well-being during this critical phase of pregnancy.
3.3 Third Trimester: Preparing for Motherhood
The third trimester emphasizes preparing the body for motherhood with low-impact exercises. Gentle stretches‚ pelvic floor exercises‚ and breathing techniques are prioritized to support labor preparation. Modified strength training focuses on maintaining core stability without strain. Activities like prenatal yoga and short walks are recommended to boost energy and flexibility. The plan ensures exercises are safe and comfortable‚ helping expectant mothers feel empowered and ready for the challenges of motherhood while maintaining physical and mental well-being.

Components of a Comprehensive Pregnancy Workout Plan
A well-rounded plan includes warm-up routines‚ strength training‚ flexibility stretches‚ and safe cardiovascular exercises‚ tailored to each trimester‚ ensuring a balanced approach for physical and mental well-being.

4.1 Warm-Up and Cool-Down Routines
Effective warm-ups and cool-downs are essential for prenatal workouts. They include gentle stretches‚ breathing exercises‚ and low-impact movements to prepare the body and prevent injury. These routines help improve circulation‚ flexibility‚ and muscle relaxation. Cool-downs aid in gradual recovery‚ reducing muscle soreness and promoting overall well-being. Both phases are tailored to pregnancy stages‚ ensuring safety and comfort for expectant mothers.
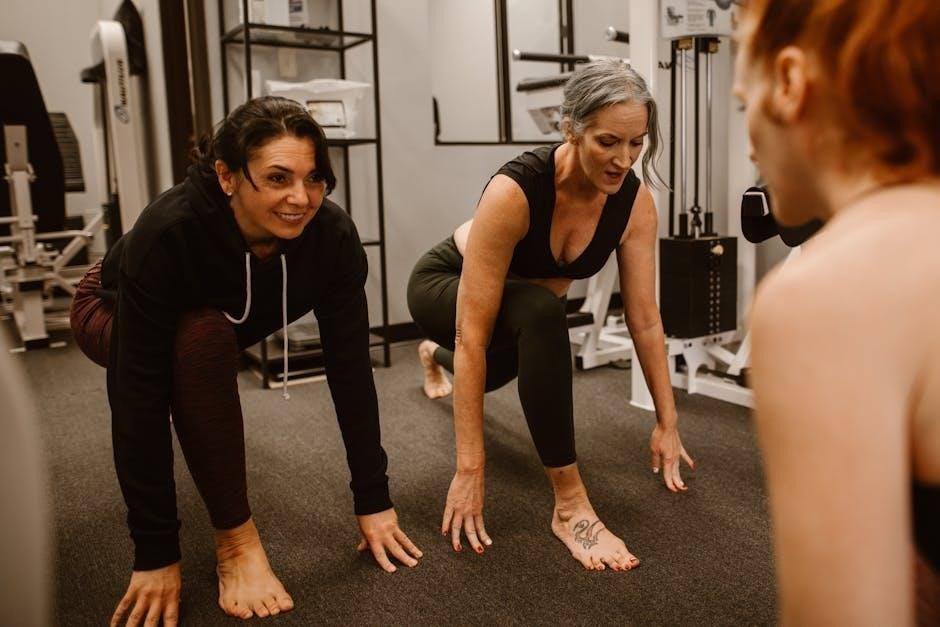
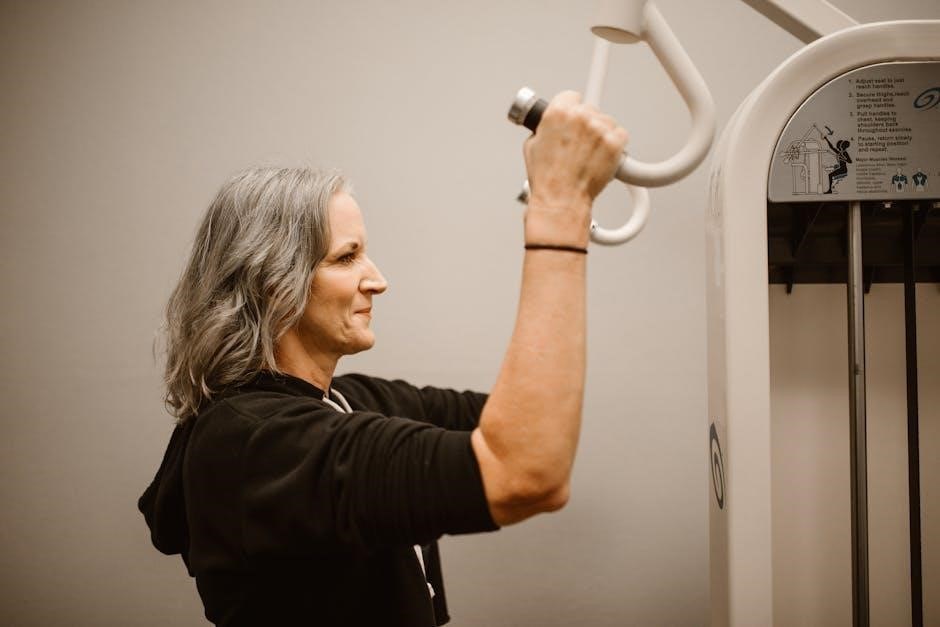
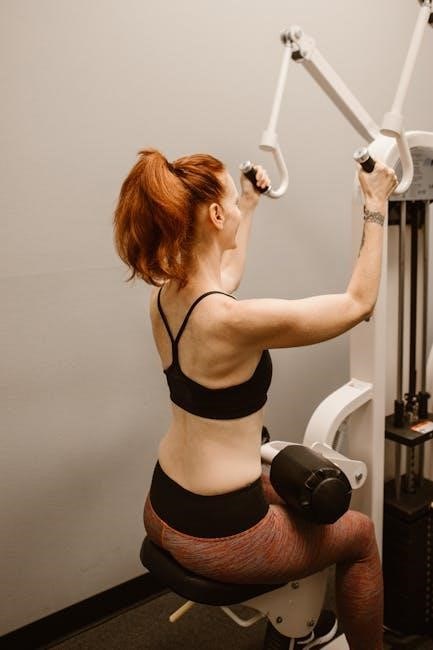
4.2 Strength Training Exercises
Strength training during pregnancy focuses on maintaining muscle tone and supporting the body through physiological changes. Exercises like squats‚ lunges‚ and pelvic tilts are modified for safety. Resistance bands and light weights are often used to enhance workouts without strain. These routines help improve posture‚ reduce back pain‚ and prepare the body for motherhood. Proper form and breathing techniques are emphasized to ensure effectiveness and safety‚ aligning with medical guidelines for prenatal fitness.
4.3 Flexibility and Stretching Routines
Gentle stretching and flexibility exercises are essential for maintaining mobility during pregnancy. These routines target areas like hamstrings‚ hips‚ and lower back to alleviate common discomforts. Modified yoga poses and cat-cow stretches are often recommended to improve posture and reduce tension. Breathing techniques are incorporated to enhance relaxation and prevent overstretching. These exercises are trimester-specific‚ ensuring safety and comfort while promoting overall flexibility and preparing the body for childbirth.
4.4 Cardiovascular Exercises Suitable for Pregnancy
Low-impact cardiovascular exercises‚ such as brisk walking‚ swimming‚ and prenatal yoga‚ are ideal for maintaining heart health during pregnancy. These activities improve circulation‚ boost energy levels‚ and prepare the body for the demands of motherhood. Modified routines ensure safety‚ avoiding high-impact movements that could strain joints or cause discomfort. Breathing techniques and gentle pacing are emphasized to maintain a healthy heart rate without overexertion‚ making these exercises accessible and beneficial for expectant mothers at any trimester.
Progressive Overload and Modification
Adjust workouts as pregnancy progresses‚ modifying exercises for comfort and safety. Incorporate props like dumbbells or resistance bands to gradually increase intensity while ensuring proper form and alignment.
5.1 Adjusting Workouts According to Pregnancy Progression
Workouts must evolve with each trimester to ensure safety and effectiveness. Modify exercises to accommodate physical changes‚ such as replacing high-impact moves with low-impact alternatives. Use props like resistance bands or dumbbells to maintain strength without strain. Focus on core stability and pelvic floor exercises as pregnancy advances. Always consult a healthcare provider before making significant changes to your routine. Listen to your body and prioritize comfort to support a healthy pregnancy journey.
5.2 Modifying Exercises for Comfort and Safety
Modify exercises to suit your body’s changes‚ substituting high-impact moves with low-impact alternatives. Avoid lying flat on your back post-16 weeks and skip exercises causing discomfort or dizziness. Use props like pillows or bands for support. Replace crunches with pelvic tilts to protect your core. Ensure proper posture and breathing to maintain stability. Stop any exercise causing pain or distress. Always prioritize comfort and safety to support a healthy pregnancy journey.
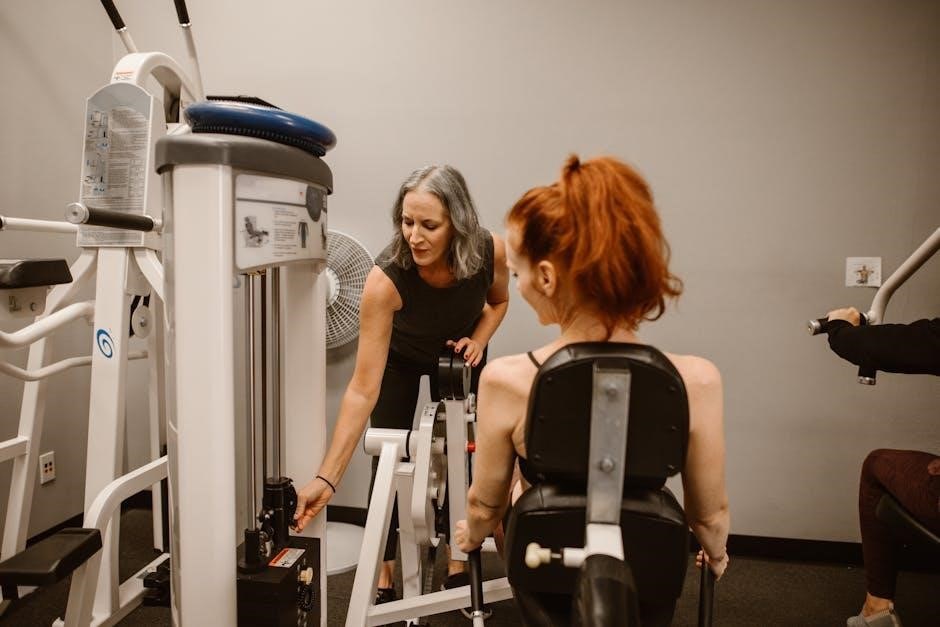
5.3 Incorporating Props and Equipment Safely
Incorporate props like dumbbells‚ resistance bands‚ or pillows to enhance workouts safely. Use Swiss balls for core support and stability. Resistance bands are ideal for gentle strength training without heavy lifting. Pillows can cushion joints during exercises. Ensure proper posture and avoid overstretching. These tools help maintain effectiveness while minimizing strain. Always choose props that align with your trimester and comfort level to support a safe and beneficial workout experience throughout pregnancy.

Avoiding Common Mistakes in Prenatal Workouts
Avoid high-risk exercises‚ overexertion‚ and unsupported poses. Listen to your body and stop if discomfort occurs. Ensure medical clearance and follow safe guidelines to prevent complications.
6.1 Exercises to Avoid During Pregnancy
Exercises like crunches‚ sit-ups‚ and heavy lifting should be avoided due to risks of diastasis recti and injury. Avoid flat-back exercises and high-impact activities that strain the core or joints. Certain positions‚ such as lying flat on your back after the first trimester‚ can restrict blood flow. High-risk activities like contact sports or unstable balance exercises should also be avoided to ensure fetal and maternal safety. Always consult a healthcare provider before starting any prenatal workout routine.
6.2 Signs to Stop Exercising and Seek Medical Help
Immediately stop exercising and seek medical help if you experience dizziness‚ chest pain‚ shortness of breath‚ or vaginal bleeding. Other warning signs include severe headaches‚ abdominal pain‚ or a sudden drop in fetal movement. If you feel faint‚ nauseous‚ or notice unusual swelling‚ pause your workout and consult your healthcare provider. Ignoring these symptoms can pose risks to both mother and baby‚ so prioritizing health is crucial during prenatal exercises.
6.3 Overexertion and Its Risks
Overexertion during pregnancy can lead to complications such as preterm labor or placental abruption. It’s crucial to listen to your body and avoid intense workouts that cause extreme fatigue or pain. If you experience dizziness‚ chest pain‚ or shortness of breath‚ stop immediately. Always consult your healthcare provider before starting or continuing any exercise routine to ensure it’s safe and appropriate for your pregnancy stage.

Free PDF Resources and Downloads
Discover comprehensive and trimester-specific workout guides available for free download. These PDFs offer safe‚ effective exercises tailored for expectant mothers‚ ensuring a healthy pregnancy journey.
7.1 Popular Free Pregnancy Workout Guides Available Online
Popular free pregnancy workout guides‚ like Lauren Gleisberg’s plan and full-body pregnancy workout PDFs‚ offer comprehensive exercise routines. These guides provide trimester-specific exercises‚ safety tips‚ and modifications. Designed for home or gym‚ they include strength training‚ flexibility‚ and low-impact cardio. Trusted resources for expectant mothers‚ these PDFs ensure safe and effective workouts tailored to each pregnancy stage‚ promoting overall well-being and preparing the body for motherhood.
7.2 How to Choose the Right PDF for Your Needs
When selecting a pregnancy workout PDF‚ assess your fitness level and trimester. Look for guides offering trimester-specific routines‚ safety guidelines‚ and modifications. Ensure the PDF includes exercises aligned with your goals‚ such as strength‚ flexibility‚ or cardio. Check for expert endorsements and user reviews to verify reliability. Prioritize resources that emphasize safety and provide clear instructions. Consulting with a healthcare provider before starting any program is also recommended to ensure it meets your specific needs and health requirements.
7.3 Examples of Trusted Free Resources
Trusted free resources include Lauren Gleisberg’s Pregnancy Fitness Plan and the Full-Body-Pregnancy-Workout guide. These PDFs offer trimester-specific exercises‚ safety tips‚ and modifications. Lauren’s guide shares her personal prenatal workout experience‚ while the full-body guide lists exercises to avoid‚ ensuring safety. Both resources are designed for home workouts and cater to varying fitness levels. They provide structured plans to help expectant mothers stay active and healthy throughout their pregnancy journey.

Creating a Personalized Workout Plan
Customize your prenatal workouts by setting realistic goals‚ tailoring exercises to your preferences‚ and tracking progress. Modify routines as needed for comfort and safety throughout pregnancy.
8.1 Setting Realistic Fitness Goals During Pregnancy
Setting realistic fitness goals during pregnancy involves understanding your body’s capabilities and prioritizing safety. Focus on maintaining strength‚ flexibility‚ and cardiovascular health rather than achieving pre-pregnancy fitness levels. Consult your healthcare provider to align goals with your trimester-specific needs. Balance activity with rest‚ and use resources like free PDF guides to track progress. Adjust expectations as your body changes‚ ensuring goals remain achievable and supportive of a healthy pregnancy journey.
8.2 Tailoring Workouts to Individual Preferences
Tailoring workouts to individual preferences ensures a personalized and enjoyable experience. Expectant mothers can adjust routines based on their fitness level and trimester‚ choosing between gym or home sessions. Incorporating props like dumbbells safely enhances strength training. Modifications allow for increasing or decreasing exercise intensity‚ ensuring comfort and safety. This approach supports a balanced and effective prenatal fitness journey‚ catering to each mother’s unique needs and preferences;
8.3 Tracking Progress and Adjusting as Needed
Tracking progress is essential for a safe and effective prenatal workout plan. Regularly monitor physical changes‚ energy levels‚ and comfort during exercises. Adjust routines as pregnancy progresses‚ incorporating feedback from healthcare providers. Use a workout journal to log exercises‚ modifications‚ and how your body responds. This helps maintain a balanced and adaptive fitness routine‚ ensuring continued safety and effectiveness throughout each trimester.
The Role of Nutrition in Prenatal Fitness
Proper nutrition supports prenatal fitness by fueling workouts‚ ensuring hydration‚ and providing essential nutrients and supplements for a healthy pregnancy journey.
9.1 Fueling Your Workouts with Balanced Meals
A balanced diet is crucial for energy and overall health during pregnancy. Focus on protein‚ complex carbs‚ and healthy fats to sustain workouts. Include iron-rich foods‚ calcium‚ and essential vitamins. Stay hydrated to maintain performance and comfort. Avoid undercooked foods‚ caffeine‚ and alcohol. Meal timing is key—eat a light‚ nutrient-dense snack 30 minutes before exercise. Consult your healthcare provider for personalized nutrition advice to support your prenatal fitness journey safely and effectively.
9.2 Hydration and Its Impact on Performance
Proper hydration is essential for physical performance and overall health during pregnancy. Water helps transport nutrients‚ regulate body temperature‚ and maintain energy levels. Dehydration can lead to dizziness‚ fatigue‚ and reduced exercise capacity. Aim to drink 8-10 glasses of water daily‚ with increased intake on workout days. Carry a water bottle to remind yourself to sip regularly. Electrolyte-rich beverages can also help maintain fluid balance during intense sessions‚ ensuring optimal performance and prenatal well-being.
9.3 Supplements and Vitamins for Pregnant Women
Pregnancy requires essential nutrients to support maternal and fetal health. Key supplements include folic acid to prevent birth defects‚ iron for blood health‚ and calcium for bone development; Omega-3 fatty acids‚ particularly DHA‚ aid fetal brain growth. Prenatal vitamins are tailored to meet these needs. Always consult a healthcare provider before starting any supplements to ensure safety and appropriateness for your pregnancy journey;
Mental and Emotional Benefits of Prenatal Workouts
Prenatal workouts enhance mental well-being by reducing stress and anxiety through endorphin release. They boost mood‚ energy‚ and confidence‚ fostering a positive body image and emotional resilience during pregnancy.
10.1 Reducing Stress and Anxiety Through Exercise
Exercise during pregnancy is a powerful tool for reducing stress and anxiety. Physical activity stimulates the release of endorphins‚ which improve mood and emotional well-being. Gentle workouts like yoga and swimming promote relaxation‚ while strength training can enhance confidence. Regular movement helps manage pregnancy-related stress‚ creating a sense of control and positivity. By incorporating exercise into their routine‚ expectant mothers can better cope with emotional challenges‚ fostering a healthier mental state throughout their journey.
10.2 Building Confidence and Body Positivity
Prenatal workouts empower expectant mothers to embrace their changing bodies‚ fostering confidence and body positivity. Regular exercise helps maintain strength and vitality‚ allowing women to feel capable and resilient. Celebrating small achievements and focusing on health rather than aesthetics encourages self-love. A structured workout plan provides a sense of accomplishment‚ helping moms-to-be feel proud of their bodies’ incredible abilities during this transformative journey.
10.3 Connecting with Other Expectant Mothers
Engaging in prenatal workouts with other expectant mothers fosters a sense of community and mutual support. Sharing experiences and challenges creates lasting bonds‚ while group exercises motivate and inspire. Many free PDF guides include tips for connecting with others‚ whether through online forums or local groups. This camaraderie helps reduce isolation‚ offering emotional support and practical advice during the pregnancy journey.
A well-structured pregnancy workout plan PDF offers a safe‚ guided approach to maintaining health and strength during pregnancy‚ supported by expert advice and community encouragement for a healthy journey.
11.1 Recap of Key Points
Free pregnancy workout plan PDFs provide structured‚ trimester-specific exercises‚ ensuring safety and effectiveness. They include warm-ups‚ strength training‚ and flexibility routines‚ while avoiding high-risk activities. Medical clearance is essential before starting. These guides offer modifications for comfort‚ incorporating props safely. They help maintain physical and mental well-being‚ reducing stress and building confidence. Avoiding overexertion and risky exercises is crucial. Balanced nutrition and hydration support workout performance. Connecting with other mothers fosters community and motivation‚ promoting a healthy pregnancy journey.
11.2 Encouragement to Start or Continue Prenatal Workouts
Embrace the empowering benefits of prenatal workouts with confidence! These structured plans are designed to support your journey safely and effectively. Consistency strengthens your body and mind‚ preparing you for motherhood. Every trimester brings new opportunities to adapt and grow. Download your free PDF guide today and join a community of strong‚ motivated mothers. Stay active‚ feel empowered‚ and nurture your well-being throughout this incredible journey.
11.3 Final Tips for a Healthy Pregnancy Journey
Stay active‚ listen to your body‚ and prioritize rest. Maintain a balanced diet‚ stay hydrated‚ and consult your healthcare provider before starting any new routine. Utilize the free PDF guide to tailor workouts to your needs‚ ensuring safety and effectiveness. Embrace mindfulness‚ connect with other moms‚ and celebrate small victories. Cherish this journey‚ knowing each effort contributes to a healthier‚ happier you and your baby.